


When it comes to home improvement, ceramic tile is a popular choice for walls and floors due to its durability and aesthetics. However, drilling holes in ceramic tile can be a daunting task, especially for DIY enthusiasts. The hard surface of ceramic tile requires specialized tools and techniques to avoid damage and ensure safety. This article provides important tips on how to effectively use a ceramic tile drill bit to help you achieve professional results in your home improvement projects.
Choose the Right Drill Bit Type
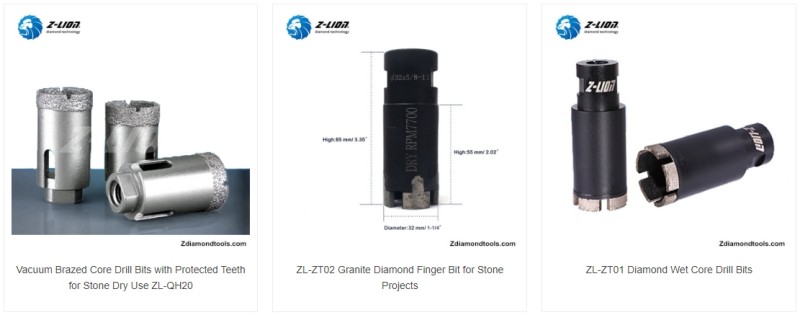
The first step to successfully drilling holes in tile is choosing the right drill bit.
There are two main types of common tile drill bits: diamond drill bits and carbide drill bits.
- Diamond drill bit: Diamond drill bits are suitable for all types of tiles, especially high hardness tiles such as polished tiles and marble. Diamond drill bits are designed to cut hard materials without chipping or cracking the surface.
- Carbide tipped drill Bits: these drill bits are better suited for standard ceramic tiles. While they are effective on softer tiles, they may not work as well on harder surfaces.
- Consider the thickness and hardness of your tile: When choosing a drill bit, consider the thickness and hardness of your tile. Thicker and harder tiles require a sturdier drill bit, such as a diamond drill bit, to ensure efficient drilling without causing damage.
- Match the diameter: Make sure the diameter of the drill bit matches the size of the hole you need to drill. Using a drill bit that is too small or too large may cause problems during installation, such as misalignment or damage to the tile.
Correct Operating Steps and Techniques
1. Mark the drilling positions
Once you have your drill ready, the next step is to mark where you want to drill the holes.
- Mark location: Use a pencil or marker to mark the exact location on the tile where you want to drill the hole. This will help you maintain accuracy during the drilling process.
- Use tape: Place a piece of tape over the marked spot. This will prevent the drill bit from slipping and provide a better grip when you start drilling.
2. Prepare for the exercise
Proper drill bit setting is critical to efficient drilling.
- Drill type: Use a variable speed drill. Avoid using a hammer drill as the impact may crack the tile.
- Speed setting: Start at a slow speed so the drill bit can gradually cut into the tile without causing cracks. This slow start is essential to maintain control and precision.
3. Start drilling
Now that you are ready, follow these steps to drill efficiently:
- Keep the drill bit vertical: Hold the drill bit vertically over the marked spot. This ensures the hole is straight and prevents unnecessary stress on the tile.
- Apply light pressure: Start drilling with light pressure. Allow the drill to work on its own; forcing the drill may cause the tile to crack or chip.
- Monitor progress: While drilling, keep an eye on your progress. If you notice any signs of cracking, stop immediately and assess the situation.
4. Increase speed and use cooling techniques
Once the drill bit has penetrated the tile surface, you can adjust your technique:
- Increase speed: Once the drill makes the initial indentation, you can gradually increase the speed to speed up the drilling process. However, continue to apply moderate pressure to avoid damaging the tile.
- Use water to cool: To prevent overheating, consider using a water spray or wet sponge to cool the drill bit while you work. This will help extend the life of the drill bit and reduce the risk of damaging the tile.
5. Clean up after drilling
After successfully drilling a hole, it is important to clean it up properly:
- Clear dust and debris: Use a vacuum cleaner or damp cloth to clean the area around the drilled hole. This will help you prepare for any further installation steps, such as inserting anchors or screws.
- Inspect the hole: Inspect the drilled hole for any rough edges or nicks. If necessary, use a small file or sandpaper to smooth out any imperfections.
In Conclusion
Effective use of a tile drill bit is essential to successfully completing a home improvement project involving tile. By choosing the right drill bit type, preparing the tile surface, and following proper drilling techniques, you can achieve clean, precise holes without damaging the tile. With these basic tips, DIY enthusiasts can confidently complete their home improvement projects and enjoy the beauty and durability of tile surfaces throughout their home.


